Print2Fax
Print2fax is a virtual printer that allows you to print a document from Word, Excel, Acrobat Reader, Notepad, etc. and directly send it to a fax number.
For Windows 7, 8 and 10 only
Installation
Download and launch the suitable version
- Switzerland : peoplefone_CH_print2fax_setup.zip.
- Germany : peoplefone_DE_print2fax_setup.zip.
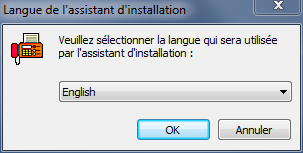
Select the language and click OK:
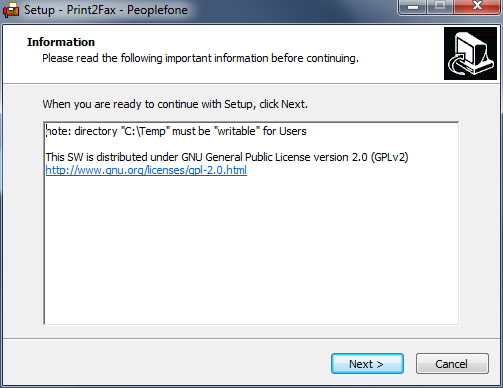
On the next page you can click Next after reading the information:
Then click on Install:
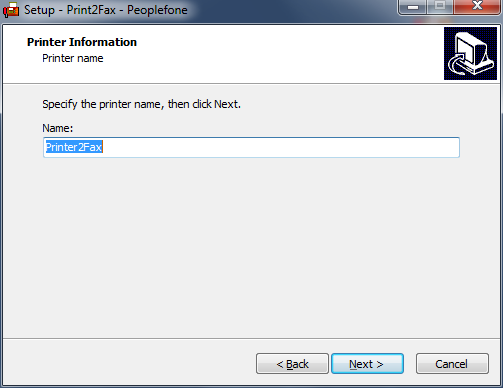
Choose a printer name for the Print2Fax. This name will be shown in your printing device and when selecting a printer when printing a document.
For the next step you need to configure your account.
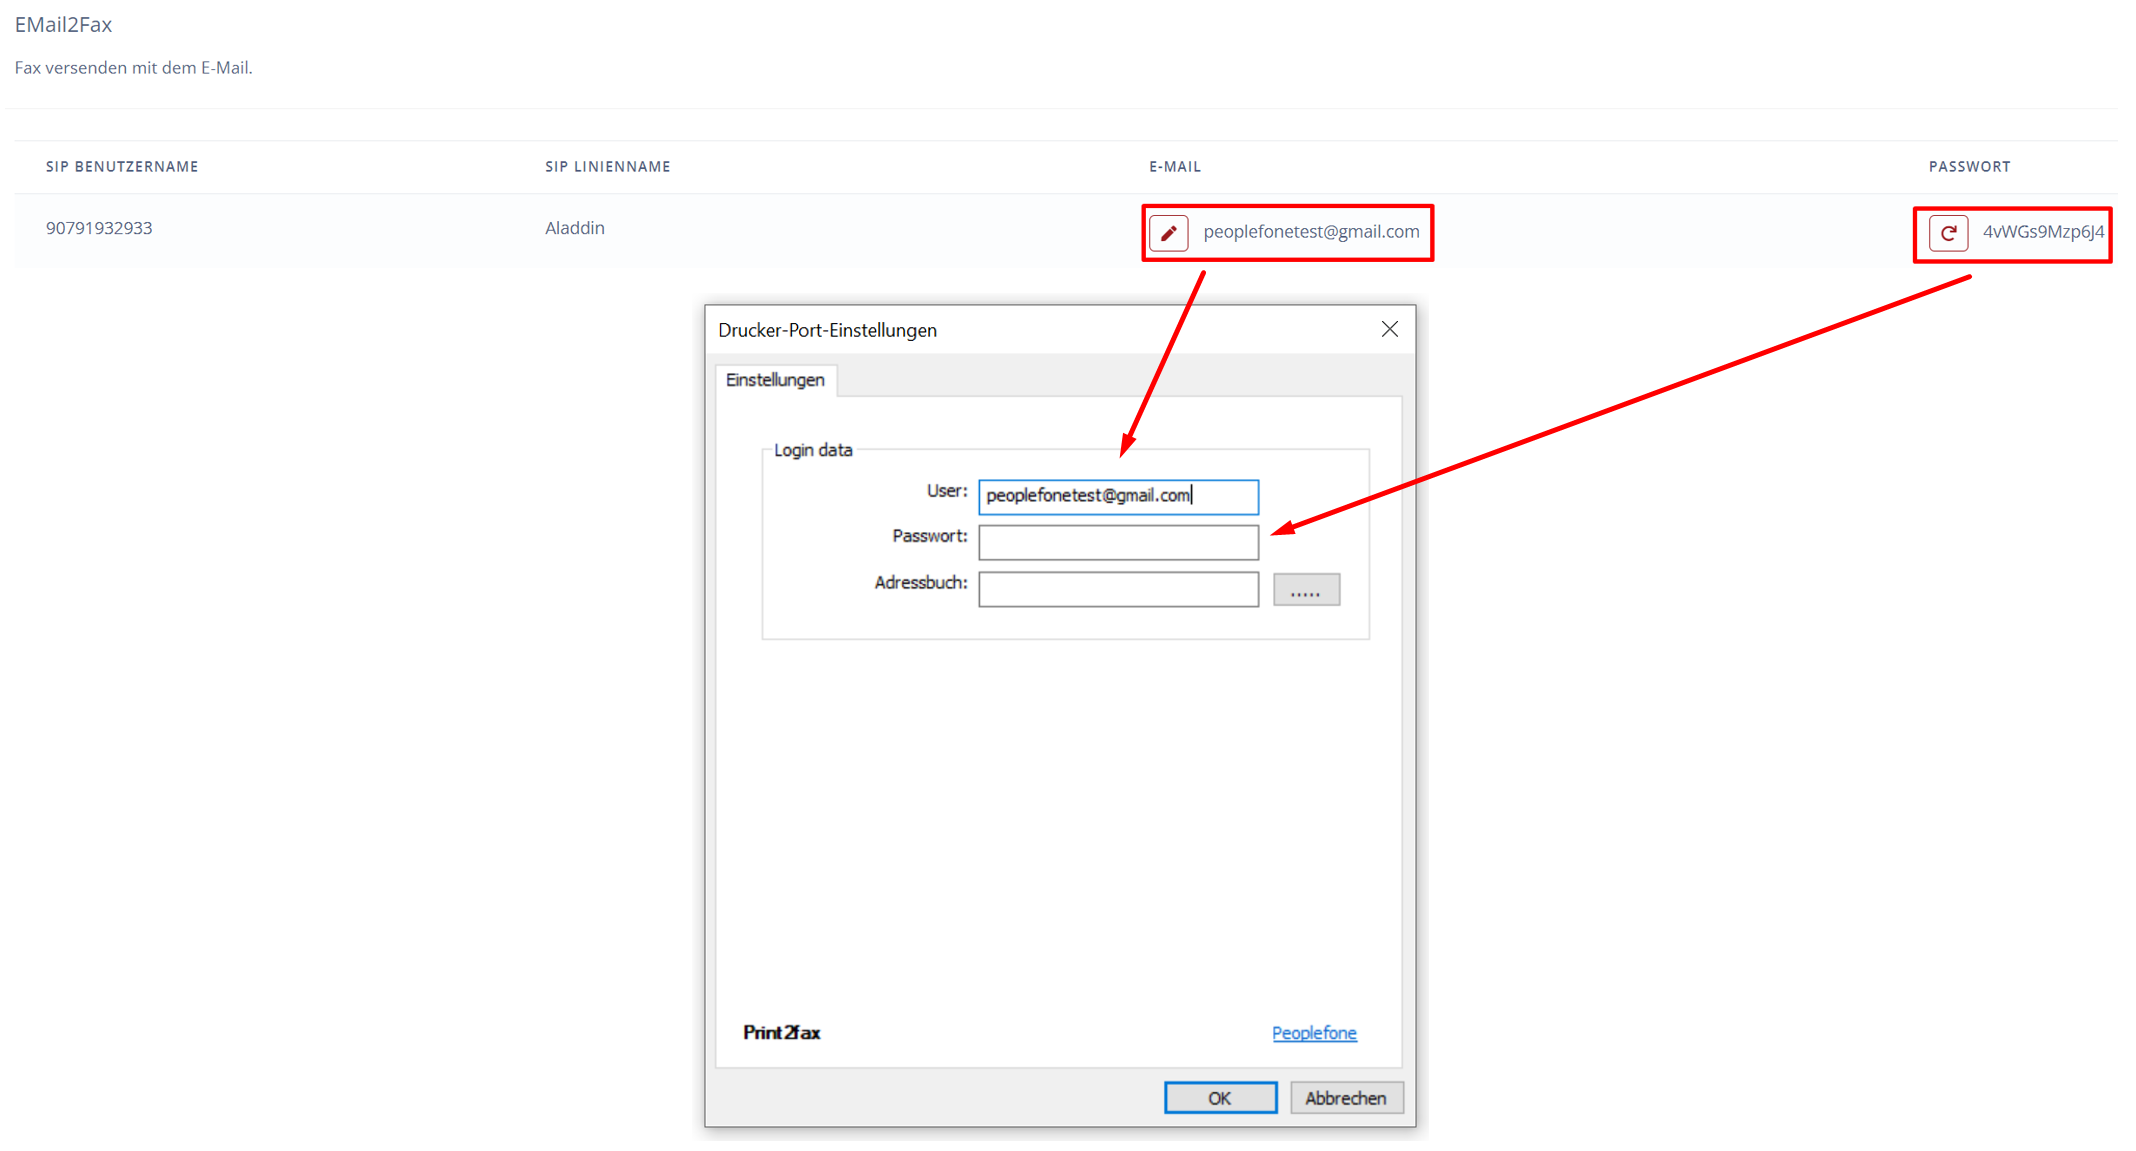
Use the email address and password you defined in the peoplefone portal in the Email2Fax service settings. You can find them under Configuration -> peoplefone FAX
Choose a location where you want to store the local address book directory. This step is not mandatory.
Finally select “Restart the computer now” if prompted to do so.
Sending a fax
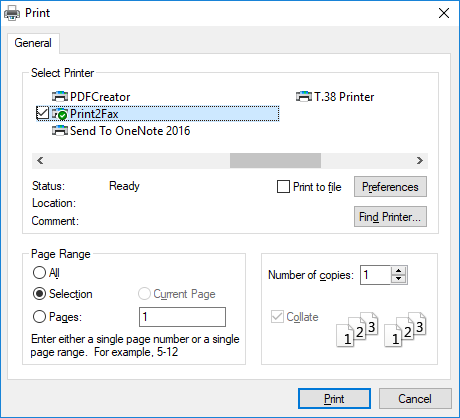
Open a file (Word, txt, pdf, …), click on print and select the Print2Fax printer:
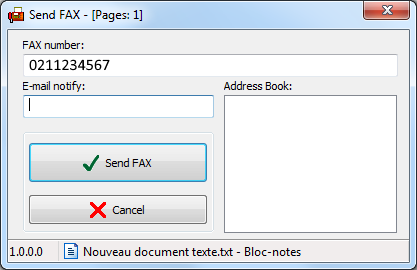
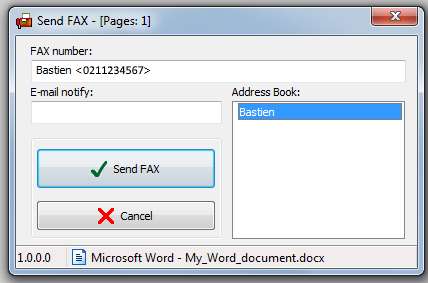
You will have a new window that asks you for the Fax number you want to send this document to. In this example I am sending a fax to 0211234567. If you don’t specify an “e-mail notify” you will receive a notification on the email you used to configure the Print2Fax (in this example, [email protected]).
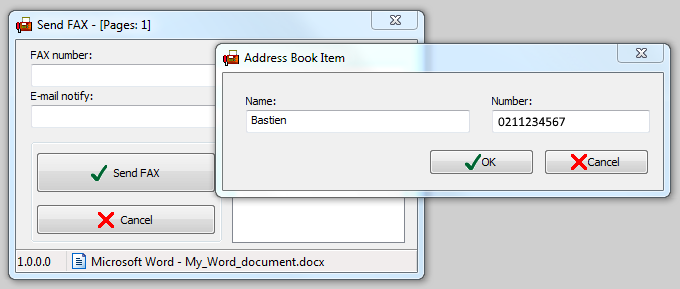
If you have set the adress book during installation, you can choose a contact from your adress book. In order to add a new contact, right click inside the Address book cell and choose “Add New Item”, then choose the name and the fax number :
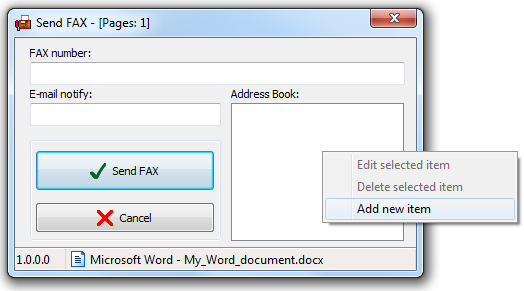
You can then choose the newly added contact in the list and Send the Fax:
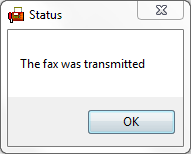
Finally, when the fax is transmitted, and your login is correct, you will receive this message:
Configuration
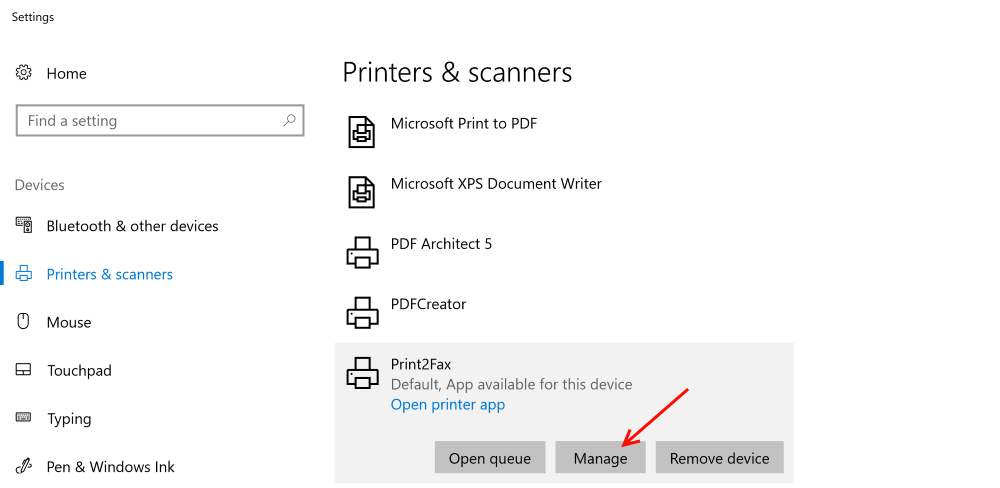
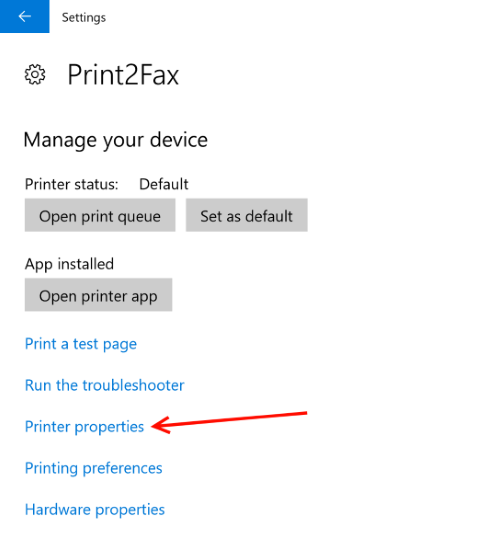
If you have an error message when you send a fax please check your email and password. You can change it from your settings under “Printers and scanners” -> click on “Manage” under the “Print2Fax” printer.
Then click on “Printer properties”:
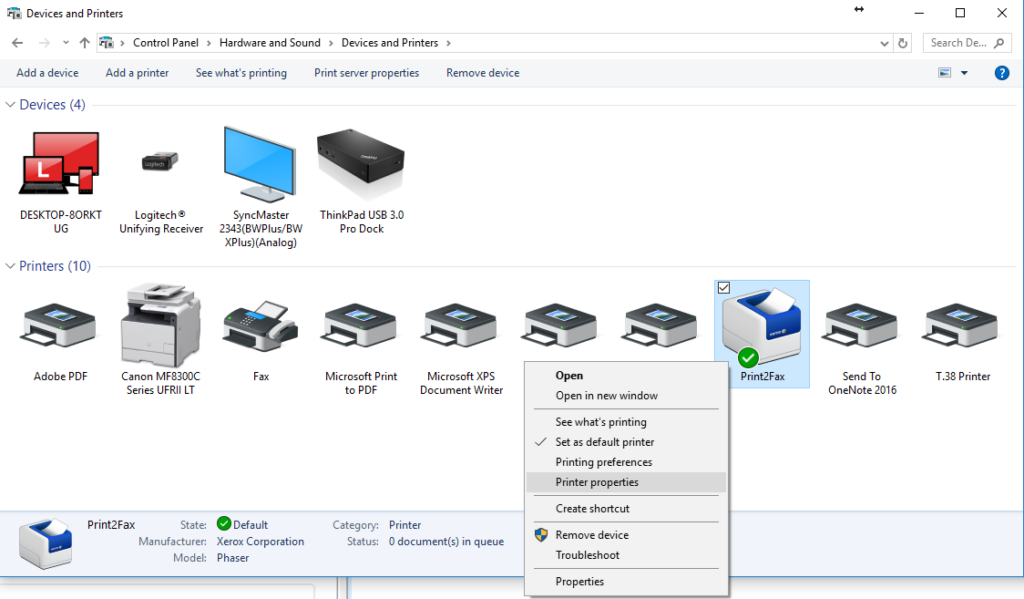
On Windows 7, you can access printer properties this way:
Then go to “Ports” tab, select “HFAX1:” and Choose “Configure Port”:
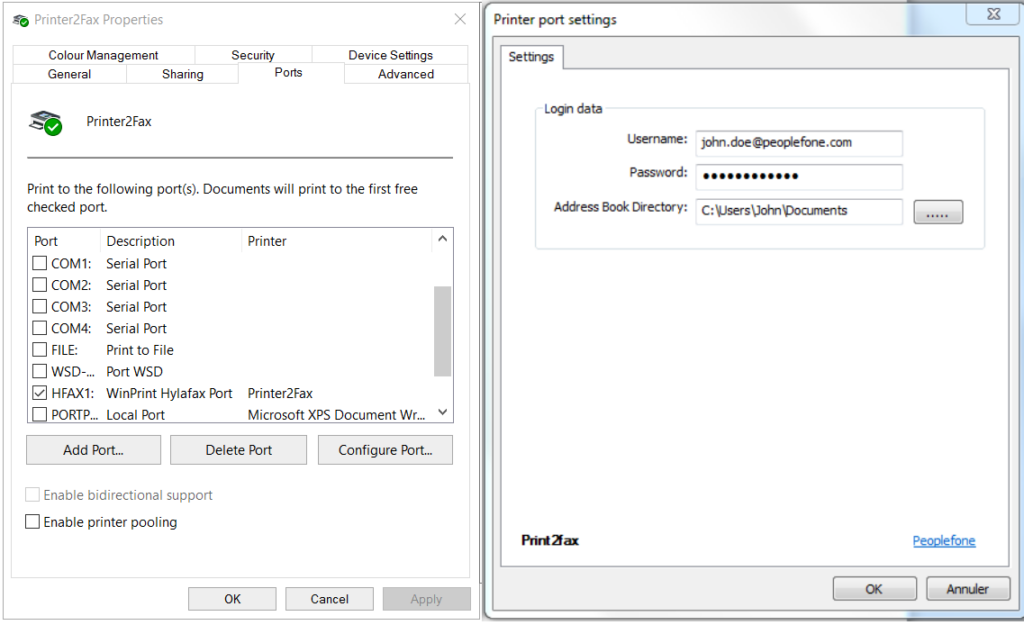
From this window, you can change your login and set your address book directory location.
Using the custom address book
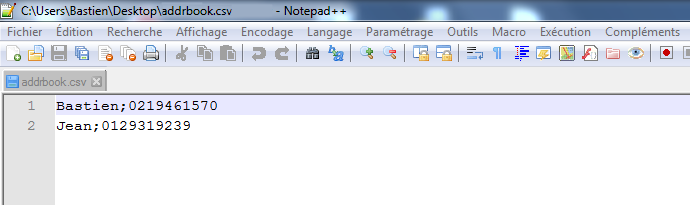
After adding the first contact in your address book, this file will automatically be added in the address book directory location you selected (C:\Users\John\Documents in the example):

You can manually edit it as long as you respect the format: name;<fax number> and keep the same file name (addrbook.csv):
Click here for: Required Firewall Rules