Installation
Configuration Assistant
- Connect the base to the internet, then use the mobile phone to access the menu

- Settings: OK
- Telephony: OK
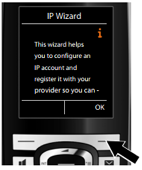
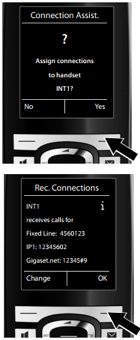
- Start configuration assistant? Yes – OK
- Choose IP-Account: IP1 – OK

- Auto configuration code: NO
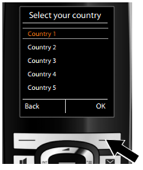
- Select country: Switzerland – OK
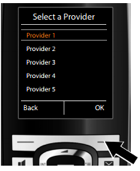
- Select provider:
- standard account: peoplefone – OK
- HOSTED account: peoplefone HOSTED – OK
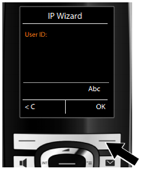
- Username: peoplefone SIP Username (11 numbers)
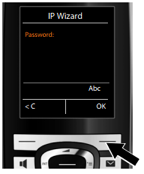
- Password: peoplefone SIP Password (characters and numbers)
- Username: peoplefone SIP Username (11 numbers)
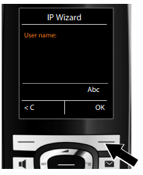
- Once you have made all the necessary entries, the IP wizard will try to register the phone with the VoIP Provider
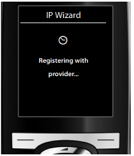
- After a successful registration, the message “ Your IP account is registered with your provider. “ will appear in the display
- After this appears click on Yes and OK
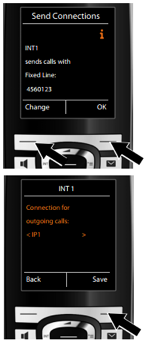
Check afterwards that outgoing calls are on IP1 and not a fixline. To check this do the following: Setting -> Telephony -> Send-Connections -> Connection for outgoing calls <IP1> Save
Manual Configuration
To start , connect the base to the mains and connect it to your internet router. (If your router supports PoE , you do not need to connect the power supply). The blue light should be on. Meaning that the base is connected to the LAN.
The next step is to register a handset to the base.
In the main menu on the handset , go to settings to trigger recording.
Main Menu – Settings – Recording – Rec. combined
Press the button ( LED ) for at least 7 seconds. The handset will attempt to find a base, once the base is found , enter the password 0000 (default password).
Connection to the configuration interface
To configure the basestation, you must have a computer connected (wired or WiFi ) on the same network as the base. On the handset go to the network settings and type in the IP address of the base.
Main Menu – Settings – System – Local Network
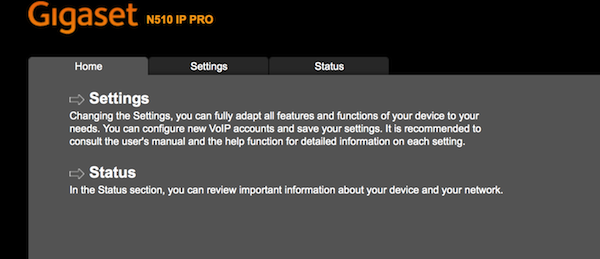
On your computer, open a web page in the address bar, type the IP address you wrote down. You can change the interface language from the dropdown menu. Type the default password ” 0000″ if needed.
SIP Account Setup
In the phone interface on the home page click on ‘ Settings ‘. Then “Telephony” in the left menu.
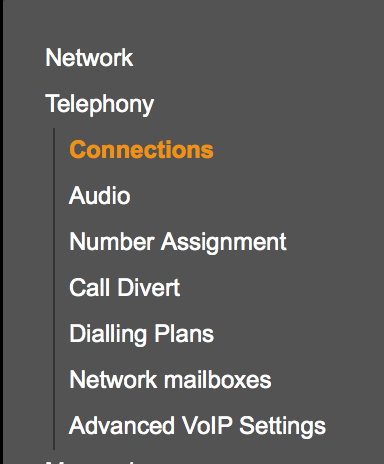
You should have an overview of all SIP lines of the unit.
Click the ‘ Edit ‘ of the line “IP1”

Then click the Show Advanced Settings
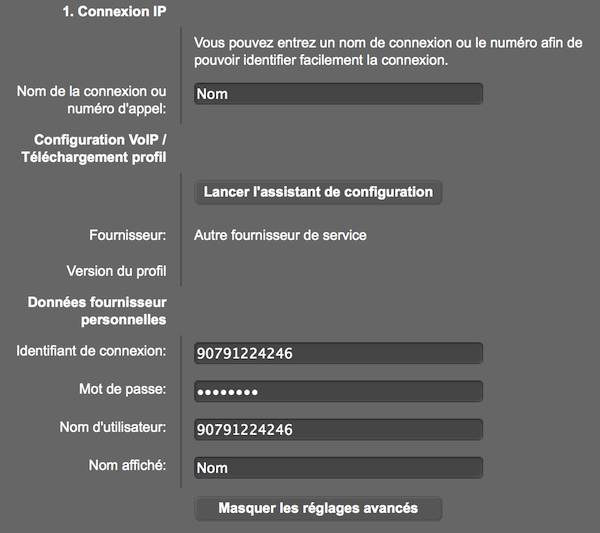
Fill in the fields as follows :
Connection Name or call number – peoplefone (or any other name you wish)
Login ID – SIP user name (see “peoplefone Account”)
“Password” – Your SIP password
“Username” – SIP Username
“Display Name” – Put the name you want for the line.
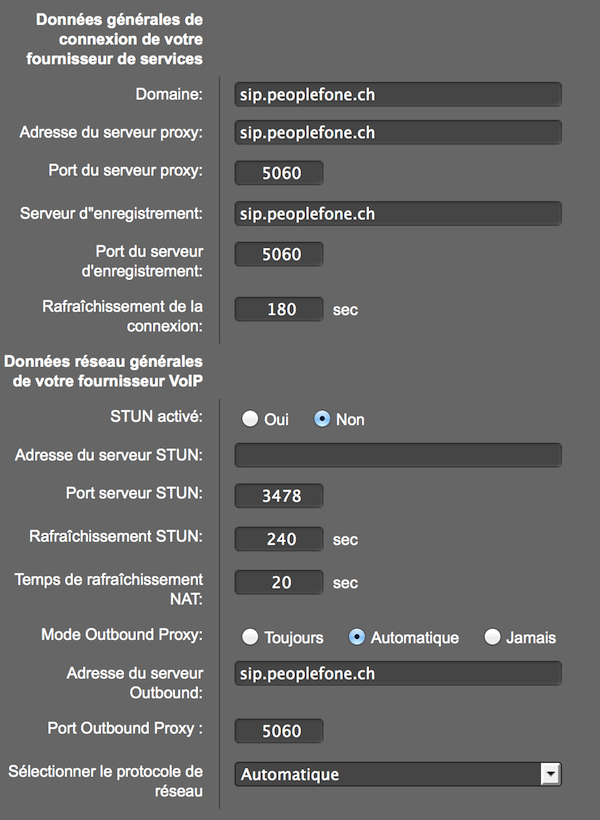
“Domain” – sips.peoplefone.ch (or pbxs.peoplefone.ch for HOSTED accounts)
“Proxy server” – sips.peoplefone.ch (or pbxs.peoplefone.ch pour les comptes HOSTED)
“Registration server” – sips.peoplefone.ch (or pbxs.peoplefone.ch pour les comptes HOSTED)
“Outbound Server Address “ – sips.peoplefone.ch (ou pbxs.peoplefone.ch pour les comptes HOSTED)!
Click „Set“ to save the settings. The status of the line must be changed to „Registered“.