In this article we will show you how to configure the Yeastar TA100/TA200 (ATA BOX) with an analogue device/fax.
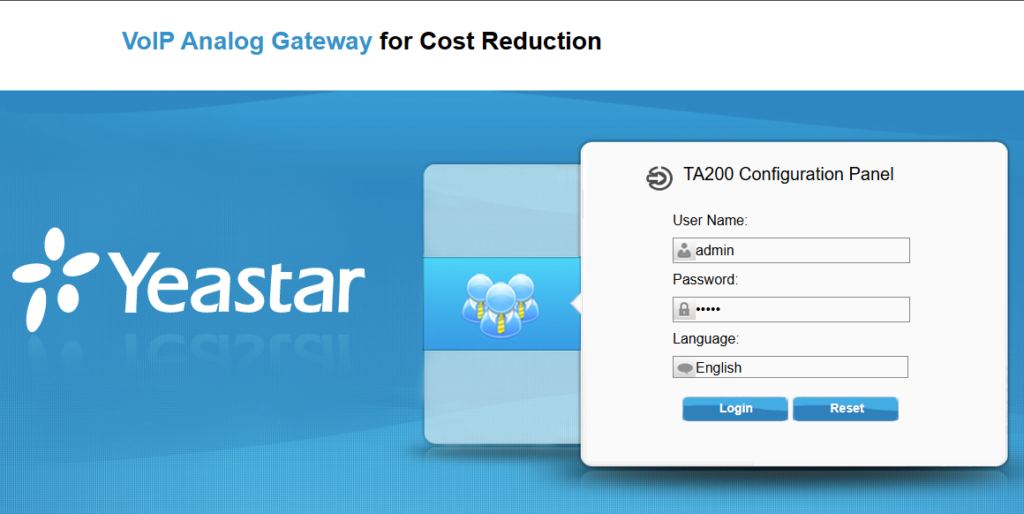
Login Page
Log in to the device, if it is a device, the defaults are as follows:
User Name: admin
Password: password
Tone Zone Settings
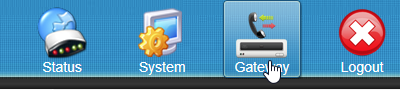
Select “Gateway” in the top right-hand corner.
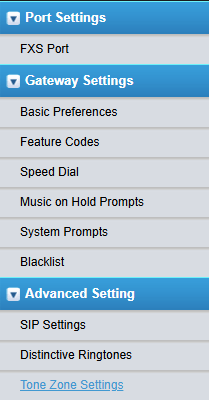
Then go to «Advanced Settings» in the menu structure on the left-hand side and select «Tone Zone Settings».
As soon as you are in the sound zone setting, select your current country and click on «Save».
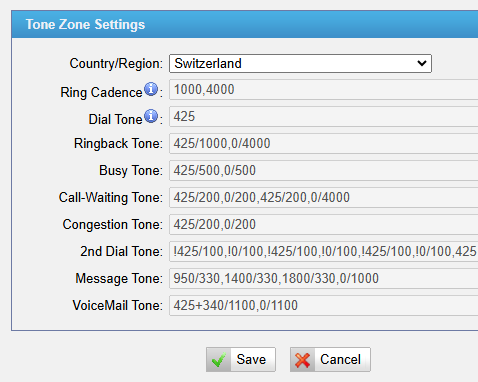
IMPORTANT: Click on «Apply Changes» at the top right.

Konfigurieren des FXS Ports
In the menu structure, navigate to “FXS Port”.

Now select a port that you would like to configure and click on the pencil to edit this port.

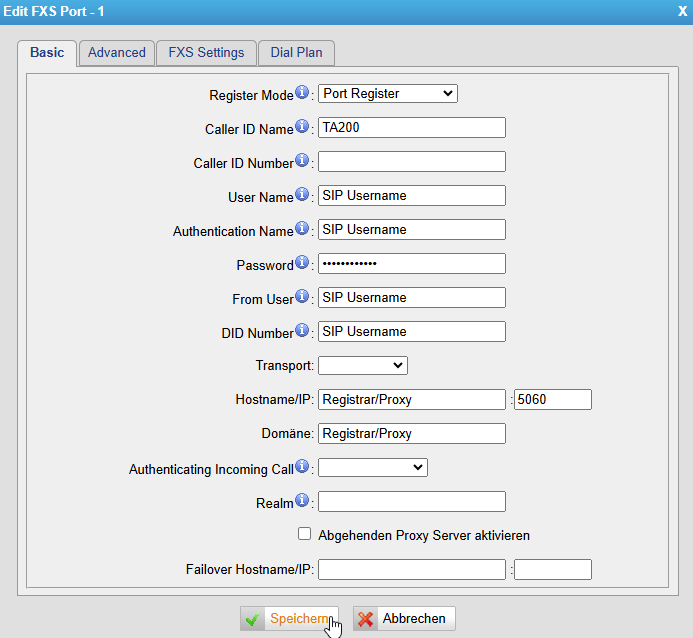
Port Settings
In the “Basic” tab, enter the SIP data that you can find in the customer portal: SIP-Setup / SIP-Credentials
Register Mode: Port Register
Caller ID Name: Beliebigen Namen
Caller ID Number:
User Name: SIP Benutzername
Authentication Name: SIP Benutzername
Password: SIP Passwort
From User: SIP Benutzername
DID Number: SIP Benutzername
Transport: UDP
Hostname/IP: SIP Proxy/Registrar : 5060
Domäne: SIP Proxy/Registrar
After entering the data, click on «Save».
Finally, click «Apply Changes» again.